Almost every household has at least one plunger, and some of us have one near every toilet as when clogs happen, you want to be able to grab it quickly. Thankfully we don’t have occasion to use them often, but if you had to, do you know how to use a plunger correctly? Augerpros Plumbing & Drain wants to share with you the different types and how to best use them the right way.
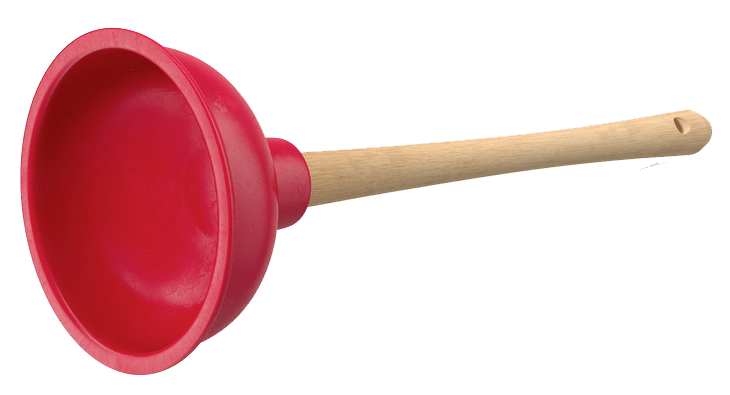
A plunger is a tool that is used to clear blockages in drains and pipes. It consists of a rubber suction cup attached with a stick, usually made of wood or plastic. It is used as a force pump to free clogged drains, sinks, and toilet traps. Many say that the plunger got its first use around the late 1700s or early 1800s.
If your toilet looks like it’s about to overflow due to a clog, don’t continue flushing the handle in the hope that the bowl will drain. Instead, allow 10 minutes for the water level to drop. Then, locate the water supply hose on the wall behind the toilet and turn the handle clockwise to close the valve. Next, examine the water level in the toilet bowl. If the bowl is too full, move the excess water to a bucket. If the bowl is almost empty, however, add enough water to fill the bowl halfway. Having an adequate amount of water in the bowl will improve the suction and ultimately lead to a more successful plunge.
Remember to use the flange-style plunger for optimal suction, and make sure that the flange is extended. Submerge the plunger (the top of the bell should be covered with water) and make sure the rubber ring is inserted directly into the drain opening. Push and pull on the handle with quick, concentrated thrusts for 20 seconds without lifting the plunger out of the drain and breaking the seal. Usually, this is all it takes to clear the clog. If the toilet remains stopped up, it may be time to put away the plunger and pull out the drain snake—or call in a plumber to diagnose a bigger problem.

While there’s probably a ton of plunger choices at your local Home Depot to choose from, the two most common styles are the cup plunger and the flange. It’s smart to stock one of each as each serves a different purpose and be familiar with their strengths so you can determine which one’s right for your mini-emergency.
The two main types of Plungers are:
The Cup Plunger: This is more than likely the one that you think of as a “standard” plunger. This type typically has a wooden handle and an orange rubber cup. It’s this cup that gives the tool the name “cup plunger.” Standard plungers come in a variety of surfaces, and while they can be used for a variety of clogs, they are best used for flat surfaces over a sink drain or in a slow draining bathtub. The cup plunger can’t create a sufficiently airtight seal in the curve of a toilet drain to produce adequate suction so the next style works better.
What to Use This Plunger for: Bathroom sinks, kitchen sinks, tubs, or anything with a flat surface.
The Flange Plunger: A toilet clog calls for a different type of plunger entirely: the flange plunger, which has an extra ring of rubber (the flange) around the cup. The flange is inserted into the toilet drain, sealing in the air and increasing the suction power. Although it’s called a toilet plunger, this plunger provides the flexibility to fit in just about any drain. This plunger has a cup-like that of a sink plunger, but also has a soft rubber flap that folds out from inside the cup. The fold-out flap fits well over the curved toilet drain, which provides the necessary suction needed. Although this plunger is very versatile, we do not recommend using the same plunger on both toilets and sinks. This is unhygienic and could lead to cross-contamination.
What to Use This Plunger for: Toilets, sinks, and tubs.
When using a standard cup plunger, start by covering the overflow drain, if there is one, with a wet towel. Doing so prevents air from escaping and decreasing the suction power. While you’re at it, it’s a good idea to seal off any nearby drains in sinks or tubs to ensure better results. To further improve the plunger’s suction power, create a tighter seal by lining the rim of the cup with a small amount of petroleum jelly.
Next, place the rubber bell securely over the sink or shower drain and completely submerge the bell in the standing water. Plunging can get messy, so if there is too much water, scoop out the excess into a nearby bucket in order to minimize cleanup. Push down on the handle—gently at first—forcing the air out. Then continue plunging with quick and deliberate thrusts, directing the pressure down the drain without lifting the plunger enough to break the seal. Continue this action for approximately 20 seconds. When you pull the plunger away, the clog should be cleared.
If your efforts are still unsuccessful, call the experts at Augerpros Plumbing & Drain at 214-206-6580. We will get your clog undone quickly and economically so you can go about your life with a smile:)